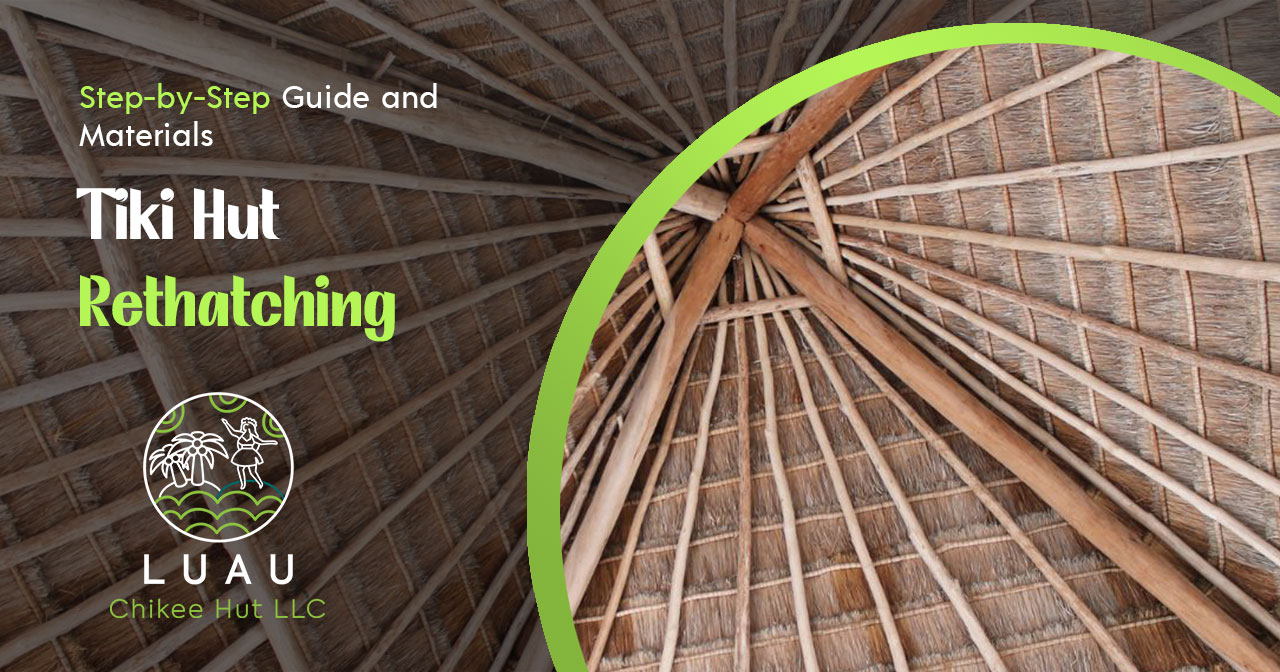
Have you observed your tiki hut showing signs of wear recently? If so, you are not the only one. Tiki hut rethatching is essential to keeping that tropical vibe alive in your outdoor space. Imagine enjoying your backyard oasis with a fresh, new thatch roof that looks fantastic and extends the life of your structure.
In this guide, we’ll walk you through the step-by-step process of tiki hut rethatching, ensuring your space remains the perfect getaway.
Mastering Tiki Hut Rethatching: Your Step-by-Step Guide
Rethatching can seem daunting, but with the proper guidance, it’s manageable for any homeowner or business owner. This step-by-step guide will help you refresh your outdoor space or extend your structure’s life smoothly. Let’s dive into everything you need to know about tiki hut rethatching.
Understanding the Importance of Rethatching
Tiki huts are a beautiful addition to any outdoor space, but the thatch roof can wear out over time because of weather exposure. Rethatching is not just about aesthetics; it’s crucial for maintaining the structural integrity of your hut. A well-maintained thatch roof protects the underlying framework from moisture, pests, and UV damage. By rethatching, you ensure your tiki hut remains functional and visually appealing.
Materials You Need for Tiki Hut Rethatching
Gather all necessary materials before starting the rethatching process to ensure a smooth workflow. Here’s what you’ll need:
- Palm Thatch: The most traditional material, providing an authentic tropical look.
- Synthetic Thatch: A durable alternative that requires less maintenance.
- Staples or Ties: For securing the thatch to the framework.
- Scissors or Shears: To trim the thatch for a neat finish.
- Ladder: To safely reach the roof of your tiki hut.
Having these materials ready will save you time and help you focus on the task at hand.
Step-by-Step Guide to Rethatching Your Tiki Hut
Now that you have your materials let’s walk through the rethatching process:
- Remove the Old Thatch: Carefully strip away the old thatch using your hands or a tool, being cautious not to damage the underlying structure.
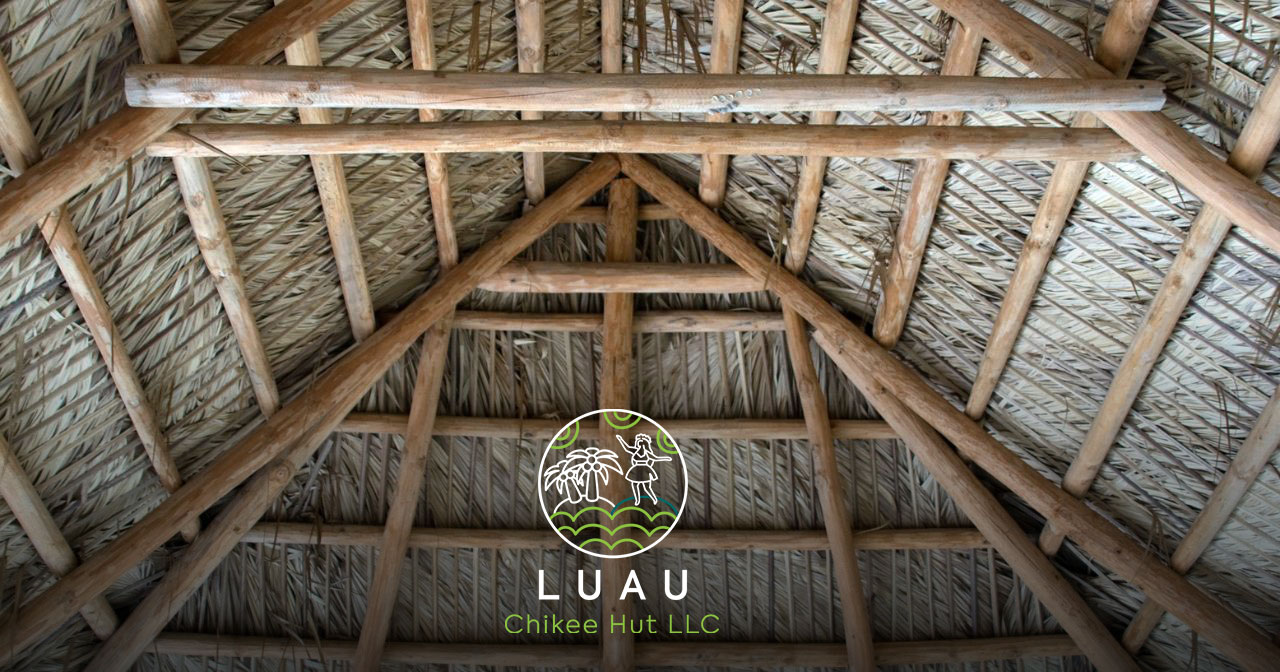
- Inspect the Framework: Before adding a new thatch, check the wooden frame for any signs of rot or damage. Repair any weak spots to ensure the longevity of your new roof.
- Start Laying the New Thatch: Begin at the bottom of the roof and work your way up. Overlap each thatch layer to ensure complete coverage, preventing water from seeping through.
- Secure the Thatch: Use staples or ties to secure each layer to the frame, ensuring it’s tightly fastened.
- Trim Excess Thatch: Trim any excess material for a clean and tidy finish once all layers are in place.
Following these steps will give your tiki hut a fresh, vibrant look, ready to withstand the elements.
Common Mistakes to Avoid When Rethatching
Even with a guide, some mistakes are common in the rethatching process. Here are a few to watch out for:
- Skipping the Inspection: Always inspect the framework before rethatching to avoid future issues.
- Using the Wrong Materials: Ensure you choose the right type of thatch for your climate and aesthetic preference.
- Improper Overlapping: Inadequate overlapping can lead to leaks, so be meticulous with each layer.
By being aware of these common pitfalls, you can achieve a successful rethatching job.
FAQs About Tiki Hut Rethatching

Q: How often should I rethatch my tiki hut?
A: On average, natural thatch needs replacement every 3-5 years, depending on the climate and exposure. Synthetic thatch can last longer, often up to 10 years.
Q: Can I rethatch my tiki hut myself, or should I hire a professional?
A: While rethatching can be a DIY project, hiring a professional ensures a high-quality finish and prolongs the life of your hut.
Q: What’s the best time of year to rethatch my tiki hut?
A: The dry season is ideal for rethatching, as it allows the new thatch to settle without immediate exposure to heavy rain.
Q: Is synthetic thatch better than natural thatch?
A: Synthetic thatch is more durable and requires less maintenance, making it a popular choice for those looking for longevity.
Additional Tips for Maintaining Your Tiki Hut
Beyond rethatching, regular maintenance can extend the life of your tiki hut. Here are some tips:
- Clean the Thatch Regularly: Remove debris and dirt to prevent mold growth.
- Check for Pest Infestation: Inspect the thatch for signs of pests, particularly after the rainy season.
- Reinforce the Framework: Occasionally check the wooden frame and reinforce it if necessary, especially before storm season.
These additional steps will help you maintain a beautiful and functional tiki hut for years.
Why Tiki Hut Rethatching is a Must for Your Outdoor Space
Rethatching a tiki hut is more than a cosmetic upgrade; it’s essential for the safety and longevity of your outdoor oasis. By investing in rethatching, you protect your structure from the elements and preserve that inviting tropical ambiance you cherish.
If you’re ready to refresh your tiki hut, don’t hesitate to contact us. Our team is here to help you every step of the way, ensuring your outdoor space remains a perfect retreat.


